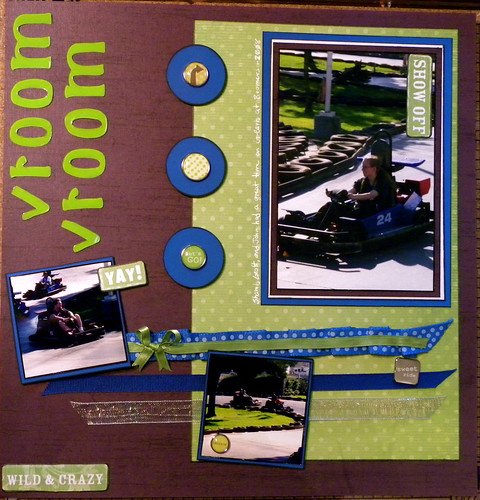
This layout is definitely inspired by a little fun side of me. I don't get to do very many whimsical layouts since I don't have kids, but, I do have young family members and some sometimes silly adults! Thus this "vroom vroom" layout came to be. Who doesn't love Go-Carts! I got to use some of my masses of ribbon on the layout - fun stapling (although I hid the staples with more ribbon on top) to create a pleated ribbon look. Additionally, I was please to use up some of the road trip candied brads - "nice ride" and "lets GO!" The color combo is okay. I think the purple background paper is getting a little too close to a color I don't like - it's like the other other pink. Arge I hate pink...
Saturday, January 9, 2010
Vroom Vroom
This layout is definitely inspired by a little fun side of me. I don't get to do very many whimsical layouts since I don't have kids, but, I do have young family members and some sometimes silly adults! Thus this "vroom vroom" layout came to be. Who doesn't love Go-Carts! I got to use some of my masses of ribbon on the layout - fun stapling (although I hid the staples with more ribbon on top) to create a pleated ribbon look. Additionally, I was please to use up some of the road trip candied brads - "nice ride" and "lets GO!" The color combo is okay. I think the purple background paper is getting a little too close to a color I don't like - it's like the other other pink. Arge I hate pink...
{beka}
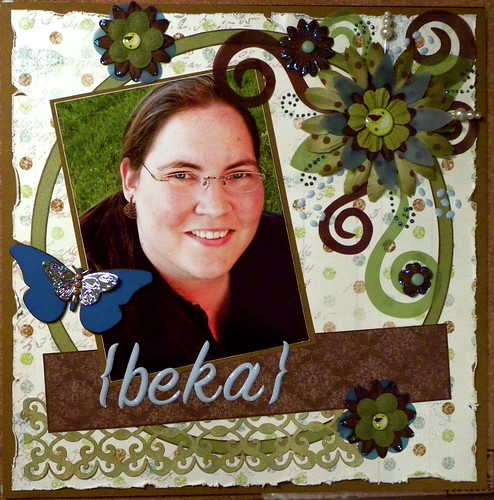
Ever have way too many flowers? A need to use up some of my flowers was definitely what inspired this layout (a perfect dozen in total were used on this layout). I think it came out pretty nice. I also use a lot of different techniques and tools on this layout -- Glimmer Mist is used on the lace paper toward the lower left hand corner, Stickles are used on the flower, flower centers, and to create a few flourishes around the flowers. Tearing/distressing of the main patterned paper is also used -- this is a lot of fun if you haven't tried it before. Also, you don't need those expensive tools everyone wants you to buy -- seriously you're taring paper. I just use the junction of my scissors and a little old fashion elbow grease for the tiny tares.
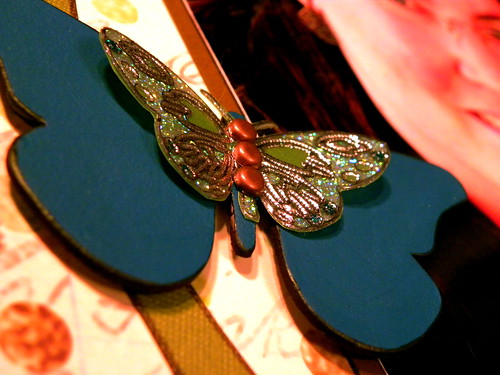
Oh, and the butterfly is very fun! It is made from a chipboard cutout of a butterfly which I painted and then added a butterfly sticker (applied to green velum) over the top and adhered with three brads for the "body" of the butterfly. I left the wings of the stickers slightly folded up to create the taking flight effect.
Yummy!
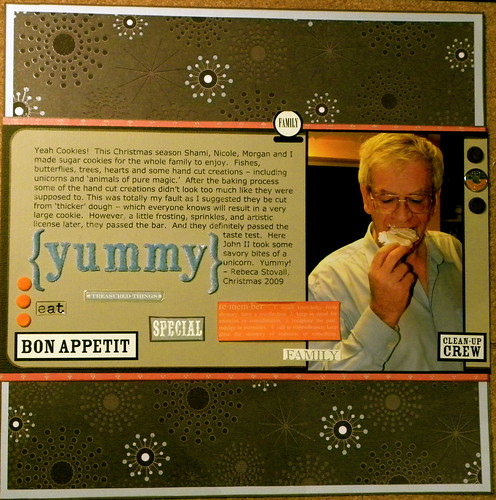
I'm still working through the images I took for the holidays. Here is another layout for the sugar cookie making -- and eating! This layout is pretty basic with lots of layers of paper to give the depth to it. My scrap buddy for the day mentioned she would never have thought to add orange to the color combo ... I kind of think of orange when ever I want to add a pop! Especially when working with any blues (as it is the contrasting color). This layout also allowed me to use up more of my millions of stickers that I have - yeah stickers.
Sunday, January 3, 2010
Family Fun Layout
This "family fun" layout is actually quite similar to another layout I recently did of some pumpkin carving photos. Both layouts are based off of the same sketch. On this one I think the colors are wonderful (some of my favorite ones to do together).
I've added in some faux stitching to frame up the photos. One of these days I'll invest in a actual sewing machine instead of faux or hand stitching.
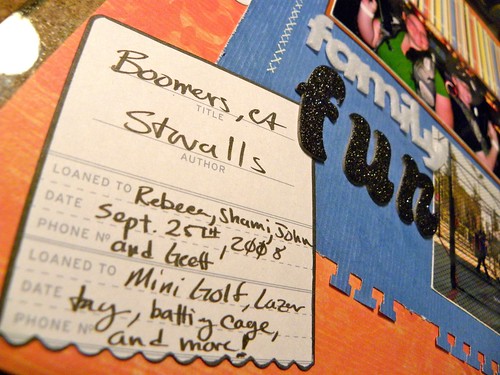
I used a library book card for the journaling on the layout... that was fun! I keep seeing people use the strangest of things - completely unrelated to the subject of the layout - as journaling or embellishments. I have had a whole stack of these card sitting around for a while and I think it works out well. Next time I think I'll try to include the little envelope sleeve I have for them to go into (wrong color for this layout so I left it off). Finally, I used stickers on the layout as well. I rarely use stickers because they are usually too, well, sticker-ish looking usually. But, these stickers you can barely see! YEAH!
Well, my winter holiday is just about over, I think this may be the last layout I get done before heading back to work. I'm actually excited to get back to work... I love my work!
Hopefully I can squeeze in a few more layouts -- and post them to the blog - if not, the next time I post may be after a crop night with the Meetup Group.
Cheers!
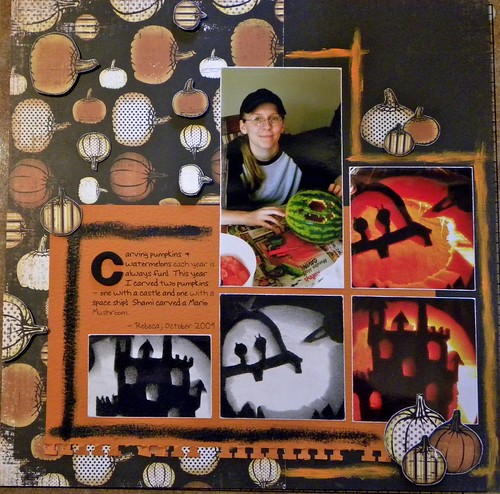
Carving Pumpkins
Well, I can't decide if this layout is done or not. I think it's starting to get a little too busy but I just feel like it might be missing something still. I used quite a few dimensional foam dots/squares on this layout to pop-up all sorts of pumpkins. I also decided to try and and use a little paint on the layout. This may have been a mistake as I didn't exactly fall in love with the result. But, with paint there really isn't any turning back... so it says unless I want to reprint and rip up half the layout -- I don't think so!
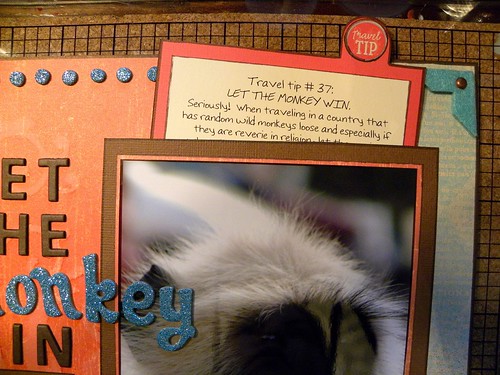
Let the Monkey Win
A little travel tip - #37:
Let the monkey win! HA HA
Well, I decided to go ahead and scrap this funny moment.

The layout has hidden journaling again as I did on another recent layout with images from my India 2008 trip. I also used glimmer mist on this layout -- but after looking at the completed project I covered most of it up! I doubt most people would even notice it. This product if fun, but I still struggle sometimes in the best way to use it. Of course I mixed up my Thickers title. I just love doing this to give the page a little more of a whimsical feel to it. I read somewhere that if you see a movie poster with a mixed color and font title -- you know it is a romantic chic flick. Maybe all my layouts are too!
Friday, January 1, 2010
On Pins and Needles!
I've been seeing a little trend lately where people are using decorative pins (usually close to a hat pin) on layout and cards. Well, I've been keeping an eye out for some in my local craft stores - both in the scrapbooking area and out. But when I find these fun pins they are just way to expensive or just not what I want for my layouts. Well, when I can't find something I want I usually go straight to the internet and get it there! However, I decided this was something I might actually be able to make easily and get exactly what I wanted. So I did! I made about a dozen of the "pins" by cracking out my stash of pretty glass beads and -- here is the fun part -- my jewelry supplies, specifically the head pins. Usually, these are used when making earrings... but I found they are pretty perfect for these little babies too! Quick instructions for anyone that wants to try -- you'll also need a strong wet glue (I used Diamond Glaze) and a foam to stick the pins in. I just coated the end of the head pin with glue, slid the bead on (some I did two beads to make little flowers!) and then suspend upside down by poking into the foam and hanging this off the edge of a surface. I let mine dry over night and bam! My own personal pins for crafting.
Subscribe to:
Posts (Atom)