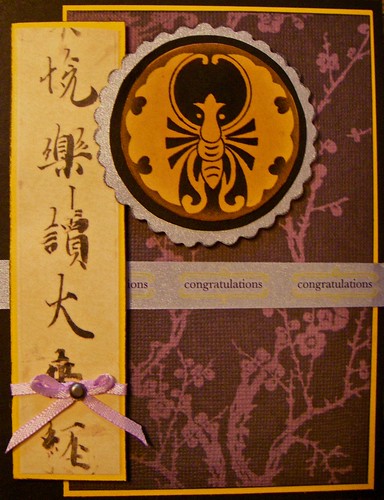
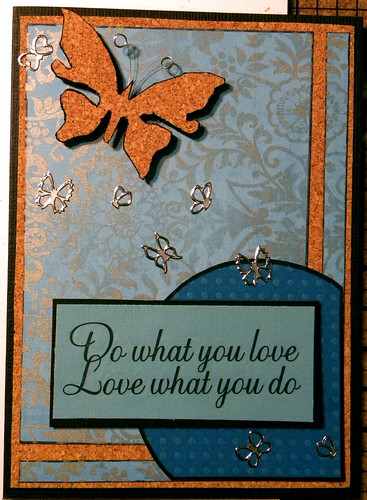
Two weekends ago I made a bunch of cards for Cards for Soldiers. This is always a fun thing to do as I can be a little wilder with the cards - it is okay if they have a different personallity then me - I'm not sending them. :)
Here are my creations:
Products:
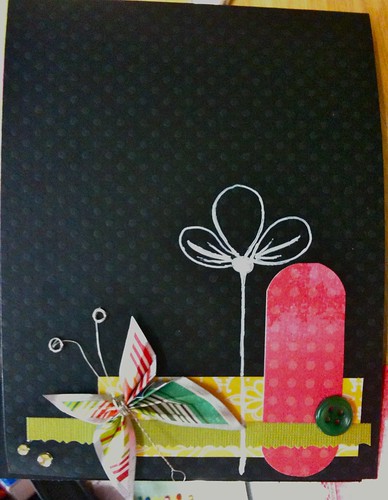
- Dotted Swiss Cardstock - black
- Lt-green cardstock
- American Crafts patterned paper - both yellow and pink
- Med button - Drk green
- American Crafts Rhinestones - Lt-green
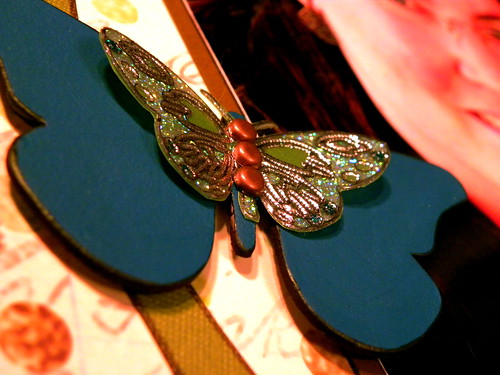
- Butterfly - handmade from patterned paper (October Afternoon, Night Light: Charles), Sharpie Paint-Pen - Silver, and silver 32 gauge wire
- Signo pen - white
Products:
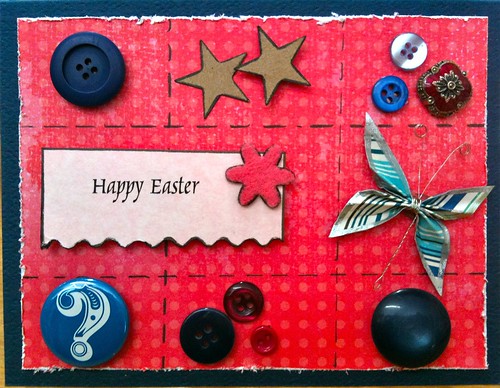
- Dr-Navy cardstock
- Lt-Pink cardstock
- Raw cardboard-colored cardstock - Fiskers Star punch
- American Crafts patterned paper (pink)
- 7 random buttons (Dr-blue and red/pink in color)
- Butterfly - handmade from patterned paper (October Afternoon, Night Light: Charles), Sharpie Paint-Pen - Silver, and silver 32 gauge wire
- American Crafts, Holiday House felt shape
- American Crafts Flair Character - Question
- Zig Calligraphy Pen - Black
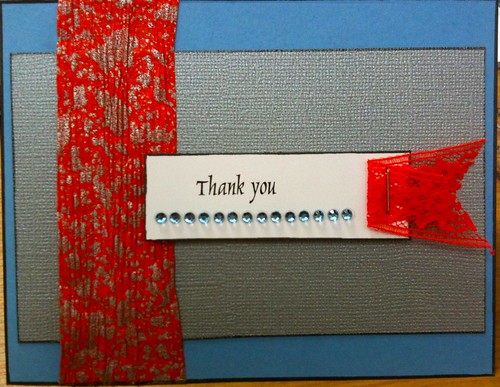
- Lt-blue cardstock
- Bazzil silver cardstock
- 2" orange lace ribbon
- Staple
- Handmade paper ribbon - Orange/Silver
- Rhinestones
- Zig Calligraphy Pen - Black

- Green cardstock
- Gray cardstock
- Raw cardboard-colored cardstock - Fiskers Star punch
- 5 1/2" each: yellow ribbon, navy sm ribbon, brown ribbon
- 2" navy sm ribbon
- 2 stables
- Navy/star patterned paper (unknown manufacturer)
- Raindrops
- Flourish stamp - unknown manufacture
- Stays-on ink - drk brown
- Zig Calligraphy Pen - Black
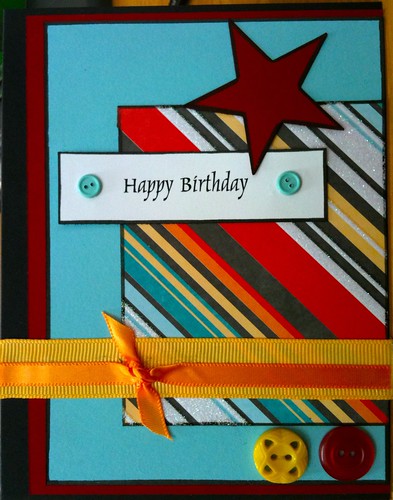
- Black cardstock
- Drk-red cardstock
- Lt-blue cardstock
- DCWV Tahiti Stack patterned paper
- Fiskers Star punch
- Lrg yellow ribbon
- Sm orange ribbon
- Red button
- Yellow button
- Lt-blue button brads
- Zig Calligraphy Pen - Black

- Blue cardstock
- Drk-purple cardstock
- Rhinestones - purple
- Lace ribbon - white
- Unknown manufacturer patterned paper
- Zig Calligraphy Pen - Black
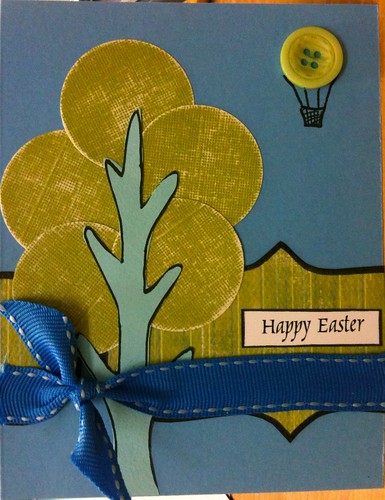
- Blue cardstock
- Lt-blue cardstock
- Green coordinations cardstock
- Unknown manufacture green patterned paper
- Lrg blue ribbon
- Lrg green button
- Zig Calligraphy Pen - Black
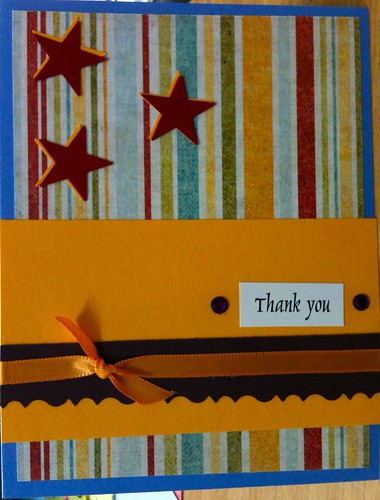
- Blue cardstock
- Drk-purple cardstock
- Yellow cardstock
- Red cardstock
- Fiskers star Punch
- Unknown manufacturer patterned paper
- Rhinestones - purple
- Sm orange ribbon
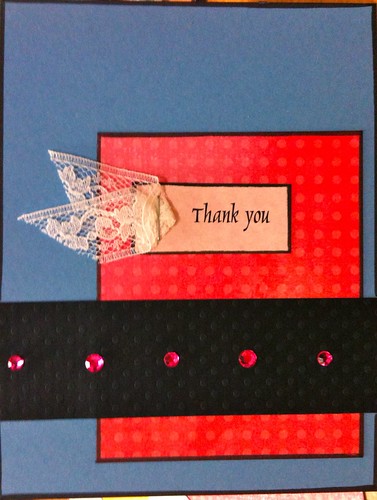
Products:
- Blue cardstock
- Dotted Swiss Cardstock - black
- Lt pink cardstock
- Lace ribbon - white
- Rhinestones - pink
- American Crafts patterned paper (pink)
- Zig Calligraphy Pen - Black